Your Cart is Empty


8 Tips for growing awesome shohin pine
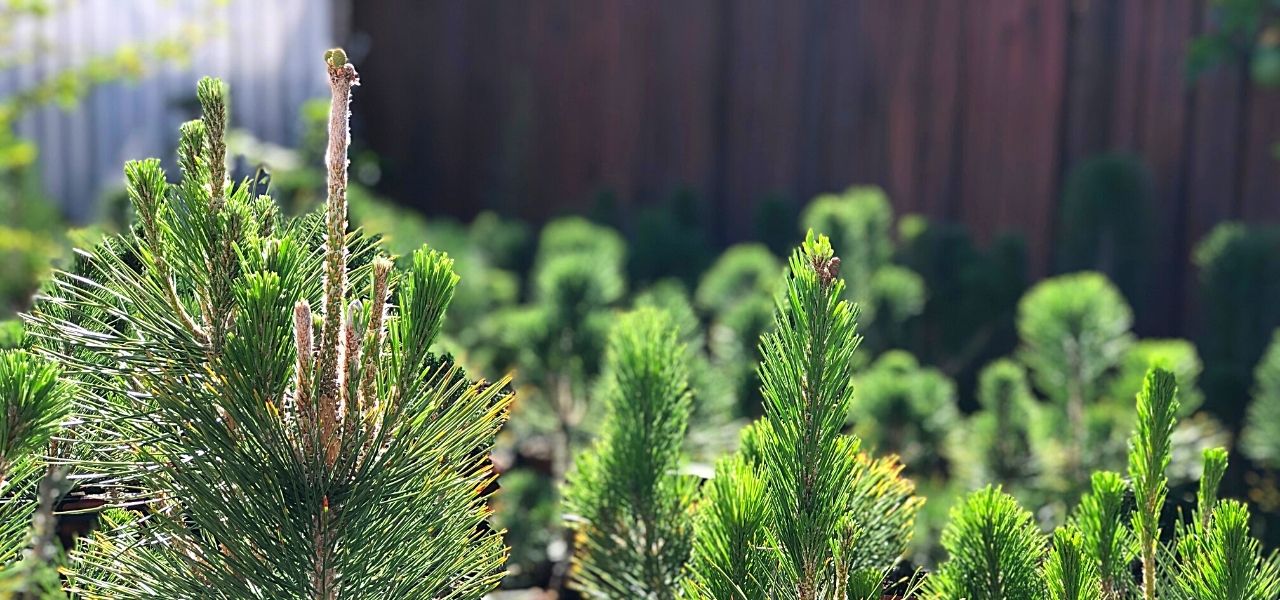
The following development tips are intended for enthusiasts growing Japanese black pine from seed for shohin trees. The pines featured in this article are in their 3rd year of growth (in Spring 2021 they will be 4 years old).
You may want to read my other blog posts for relevant information. Although some of the advice might be applicable to enthusiasts who wish to grow larger trees I have not written the content from that perspective.
Tip #1. Remove needles only when necessary
The more needles you have on a tree the more rapidly the tree will develop. Simple.
However as we are growing smaller, compact trees we need to make sure that we keep the lower, inner buds healthy as we will use these in the future for our structural branches. These buds will weaken and potentially die should they be overly shaded. To promote penetration of sunlight we therefore may need to thin some of the needles on parts of the tree.
If you need lower branches but don't have buds in the right pots, then you can still graft what you need on.

You will need to assess your trees and determine if there really is a shading problem or not. For the tree above there isn't really an issue and if the tree is grown in full sun there should be no need to further expose the lower growth. So I did not remove any needles.

However in the example above, some needles were indeed removed and the lower portions will now receive more sunlight so they will strengthen.

For this fairly upright tree shading was a bit more of a problem and so some of the older needles were cut. However as the older, mature needles are said to contain certain hormones missing from younger needles, it is important to keep as many of them as you can.
Tip #2. Pull needles if you don't ever want buds. Cut needles if you do.
For the Japanese White pine and perhaps others, it is always advisable to cut needles from the tree as pulling them can sometimes damage the needle sheath at the base. At the base of each needle sheath there is potential for a bud to develop.

Although the needles of Japanese black and red pines do not usually pose a risk of damage when plucked from the sheath there is always the possibility. So if you don't want buds to form in a particular area then pull the needles. If you think you may want buds then I would advise you to rather be safe and cut the needles. You can make the cut a few mm away from the needle sheath.
Tip #3. Cage wire to thicken the trunk quickly and add interest.
There are several techniques which can be employed to increase the trunk girth of this species. Sacrifice branches and growing in colanders are two which immediately come to mind. However in my experience, and at this early age of the plant where sacrifice branches have not really had time to develop to a size where they really do contribute to this goal, so called "cage" wiring is a fantastic technique which can make a marked difference.

The trunk above of this 3 year old pine was cage wired in the previous growing season. The wire was removed and then reapplied. The wire bite from the first wiring has largely healed or smoothed over and this is what has contributed to the substantially thicker girth of this tree when compared to others of the same age which were treated differently.

When cage wiring there are several things to keep in mind for the technique to be effective, some of them seem to contradict conventional wiring good practice. For instance rather than wire at a regular angle the angles should purposefully vary so as to create a more interesting trunk, a result of the intentional wire bite and subsequent healing you're aiming for.
Tip #4. Coil "cage" wire tightly and start as low as possible.
Choose the thickest aluminum wire you can apply to the tree, this increases the surface area in contact with the trunk and will accelerate thickening. I also think the heat conducted by the wire may play a positive part.
Anchor the wire properly in the container, hold the tree and wire firmly when coiling it.

It is very important that you apply the first coils on the lowest portions of the trunk, tightly and almost without any angle at all. The trunk will only thicken when the wire makes contact with the bark. If the wire is loose, which happens easily especially with poorly anchored thicker wire, you will find that higher up on the trunk where it is easier to wire tightly the trunk will begin to fatten sooner, but not lower down. This will lead to inverse taper, which is usually not desirable. (If creating bunjin style trees this is not so much of a problem but for all other styles that come to mind, reverse taper would be a flaw)
Tip #5. Allow wire to bite in thoroughly and only remove wire from those parts.
You will need to ignore your first reaction which will be to remove the wire when it begins to bite in. It is only when the wire begins to bite in that this technique begins to work its magic.

Here wire has been allowed to remain on the tree until the wire is just about to be enveloped by the live tissue making it then impossible to remove without damaging the tree. This is a little far and you might wish to remove the wire before this point but for me I think its not a problem what so ever. Even if I cannot uncoil the wire I am able to cut it and push it from the sections where the tissue has begun to roll over the wire.

With the wire removed you can see just how much girth the tree has put on since the wire was applied. Magic!

If when you remove the wire any live tissue is exposed you will need to seal immediately at these points to protect the exposed areas and to promote rapid healing.
Its important to leave the wire on until it begins to bite in good and proper. So you might wish to begin unwinding the wire towards the tip, unwind a coil or two and then leave the tree for a few more weeks to allow it to bite in further, then come back to it and remove a few more coils and leave it again. This will ensure the lower portion of the trunk will have thickened the most as the wire had bitten in there the most.
Tip #6. It's never too early to start working on the nebari
Its rather important to begin working on the nebari of your trees at the earliest possible point in their development. It is very difficult or even impossible to correct flaws in this area when the tree is older.
The ideal is to have surface roots radiating in all directions from the trunk at a slightly downward angle, appearing to firmly anchor the tree to the ground.

Roots which overlap others should be removed revealing the roots immediately below them.

Use scissors to cut any roots which rise out of the soil. You may use an old branch cutter or a root cutter to remove thicker roots.

Where possible and or necessary, make a kind of hairpin from wire, pressing it deeply and firmly into the soil forcing any raised roots into the soil again.
Its likely that I will repot these trees as they are just about to go into their 5th year of growth. This will be a good time to properly trim and organize roots, although growth in the season after that will be substantially less due to the root reduction.
Tip #7. Take precautions for strong wind to prevent broken pots.
I live in the Western Cape and experience a lot of wind. Although this helps to control fungal problems which are so common with pines it does mean I often find trees falling over in the gusts.

I use plastic bread trays as they:
- Help me to space my trees apart so each tree has its own exposure to sun, but has plenty of air movement between it and its neighbor.
- The bottom of these trays are also grids so water cannot accumulate and in fact air can move freely through.
- When I want to work on them I can carry several at a time, saving me from having to walk back and forth dozens of times.
- However and perhaps most importantly should a tree topple over, which is already a frequent occurrence but will only worsen as sacrifice branches increase in size, the pot will not smash.
Tip #8 Develop your own maintenance plan
- Spray at least monthly with Odeon fungicide and a miticide such as Seizer during periods of hot, dry weather. Be sure to use a wetting agent such as Sporekill or other.
- Always provide maximum sunlight to your pines.
- Don't overwater your pines, the soil should dry somewhat before watering should be performed again.
- Don't water pines at night or when then there will be insufficient time for the needles to dry properly before sunset. Failure to heed this advice might lead to fungal problems.
- Feed like crazy. I always have BonsaiBoost on my developing pines, which is changed every few weeks. I also perform weekly foliar drenches of Seagro or Sea Secret.
Leave a comment
Comments will be approved before showing up.
