


Orchids


14 Tips for Field Growing Bonsai
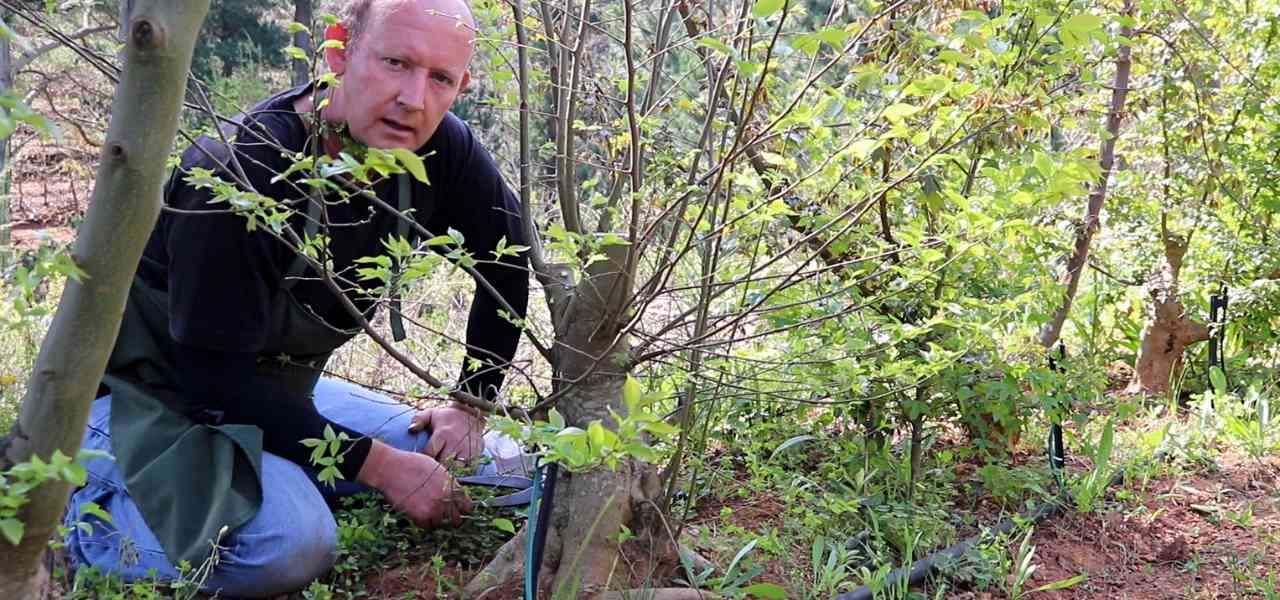
I have written a number of blogs on my experiences with growing material for bonsai. You can read them here if you have not done so already. However this post summarizes much of the knowledge I have accumulated to this point, and I also managed to produce a video on the same content to demonstrate many of the techniques I write about.
Over the last 17 odd years of field growing I have learnt a lot, and continue to do so. When I started I made many mistakes, fewer so these days, but my hope is that the content below will help you to shortcut at least some of mistakes I made.
Tip #1. Rapid development
There is simply no substitute for growing trees in the ground. You will not be able to produce the same growth no matter how hard you may try or how much fertilizer you apply to a tree in a box let alone a ceramic container.
For this reason, if you have access to a piece of ground - use it! You can even plant your garden full of plants you are actually field growing for bonsai use. Many beautiful bonsai were once part of garden hedges.

You are not going to get this kind of development from a seed in 15 odd years if planted in a container or even in a wooden box.
Tip #2. Preparing your tree
My preferred source material to field grow are cuttings. This is as the plant is already off to a great start as its roots already all emerge from the same level which will lead to better nebari in the long term. Additionally it is assumed that you will only bother to take cuttings of plants which have good genetics such as good leaf size and or shape, short internodes, good bark characteristic or other.
Depending on the size of the material you are starting with you might plant it upright and change direction of the trunk is successive trunk chops or you might plant the tree at and angle so that from the ground there is already movement. If you want a tree with lots of movement you may wish to wire the tree before planting it in the ground (remove the wire before it disappears into the trunk though).

Cuttings are a great source of material to field grow into something special. Choose material based on some desirable characteristic of the mother plant.
Tip #3. Planting
If the soil you are planting in needs some amendment you may wish to add some organic material; just follow basic guidelines available anywhere for planting trees when it comes to soil preparation.
I have used raised beds in my backyard, which my back is very grateful for, but planting at ground level is also fine. Or you might simply place the tree on the ground and mound soil up around, this latter method makes digging the tree from the ground in the future much easier.

Brick growing beds like these are great for field growing too. You may need to share some of the space with the family for growing vegetables though.
Tip #4. Planting on a surface
When planting the tree you may wish to use a flat surface such as a tile on which to place the tree.
The benefits to using a tile are:
- roots are forced to grow off the edge of the tile and then down into the ground, and this produces a very pleasant trunk flare.
- when you dig out the tree you need only find the edges of the tile, sever the roots and the tree is loose. In contrast, without a tile roots are free to grow straight into the ground which makes the work of digging trees out much harder.

This trunk flare at the base is due to the fact that it was initially planted on a tile, forcing roots to grow horizontally first, instead of just straight down.
Tip #5. When to cut the trunk
You need to have some idea of the end result you want to achieve, for without this forward thinking you will not know when to cut the trunk of your tree.
Here's a scenario; you have allowed the trunk of your tree to grow uncut for several years and its just about the thickness you want or need for good proportions. You need to cut it now so that you can:
- change the direction of your trunkline by developing a branch that grew after you made the chop.
- create taper in your trunkline, which is critical for visual interest.
- develop growth above the cut in order to aid healing of this cut scar.
Once the trunk is cut, although there will be some further thickening of the growth below the cut, it will be minimal. So cut the trunk only when you have reached your goal, no sooner.

It should be fairly clear to you the several trunk chops which have been made on this tree, and the gentle taper into the next portion of the trunk.
Tip #6. Season to cut
The trunk chop must be made in a season when you are likely to get the most back budding as plentiful back budding will give you lots of new growth from which to choose your new leader to continue your trunk line with.
Late spring, when spring leaves have hardened off and become slightly leathery is the best season in my experience as this is when the tree is full of energy.

This trunk was chopped at the right time, and as a result a lot of new growth emerged low down on the trunk. This growth can be thinned, keeping only a few to develop further.
Tip #7. How to cut the trunk
When I first started out field growing I read in books to cut at particular angles and how cut was to be shaped. I have learnt that this is a waste of time.
Cut the trunk just above when you want the change of direction to occur, bearing in mind that there will be some dieback. Using a sharp saw cut the trunk at any convenient angle being careful not to damage any surrounding growth, if there is any. You do not need to shape the cut at this point.

A simple straight cut with a sharp saw is ideal initially.
Tip #8. Seal the cut
After making the cut described in tip #7, you need to seal the cut with a good sealer making sure that any live tissue is covered. This will protect the cut ends from bacteria or other attack.

I always seal my cuts straight after making them. Whether sealing the entire cut is necessary I am not sure, but I'd rather be safe than sorry with all the borers, bacteria and other nasty things we have these days.
Tip #9. Angle of the trunk chop
In the season following the trunk chop, either late autumn or early spring when it is clear that a new line of sap flow has been established and surrounding new growth has developed enough, you can go back and cut the trunk again.
This time you will want to cut at an angle that will promote callousing of the wound, and this is usually done in the direction of a branch you have decided to use as your new trunk line.

Don't bother making shaped cuts until you know where a new sap flow line has been established. This is visible after a season or two.
Tip #10. Shaping the cut
Cuts of significant size need special treatment or the tree will find it difficult to callous over, and the resulting callous formation will also not be very attractive. To aid the flow of callous tissue, you need to round the edges of the cut, and hollow the center portion.

A good, sharp gouge chisel or other suitable implement is great for working trunk chops at a later stage.
Tip #11. Treating wounds
Callous tissue will not form on rotting wood or any non-sound surface for that matter. I wish I knew this years ago!
Should you have any large wounds inside which you find rooting wood, this must be thoroughly cleaned out first. After cleaning out the wound you can fill the hole with a cement product. This forms a great surface over which callous tissue can form.
In the video I prepared for this blog post, you will notice that I filled large cavities that resulted from callous formed around old wounds. Rather than expect callous to "roll" into and fill this space, simply filling it and then encouraging callous to form over the cement, dramatically reduces the time required to hide such large defects in the trunk.

Filling large cavities and then scoring and sealing the edge of the live vein will ensure callous tissue forms quicker and the scar looks better once properly healed.
Tip #12. Treating branch cuts
I don't develop branches in the field, when I am growing relatively small trees. However when growing larger trees the benefit of the superior speed of growth produced by field growing can accelerate the building of structural branches.
The treatment of branch cuts are much the same as trunks in essence. When making the branch cut I once again do not go to much effort to cut at any particular angle, however it is important that you do not cut beyond any dormant buds, or the entire branch will die back. I simply seal the cut and leave it. Once the growth which developed after the cut has matured enough, after say one or two growing seasons, then I go back and shape the cut based so that the future callous or healing, will be pleasing.

A combination of tools are available for working or shaping branch cuts and trunk chops. Here I am using a knob cutter.
Tip #13. Wiring in the field
Wiring in the field can be of great value, just be careful. Wire bite can happen quickly and may be the demise of a branch. Once again one needs to be mindful of how fast things happen when trees are in the ground especially in autumn and spring.

On larger trees, I like to use wire to guide structural branches initially. Be careful of wire bite though.
Tip #14. Field root work
Doing frequent root work will dramatically slow the development of your trees. Every time you uproot a tree you lose at least a full year while the tree issues new roots as it prepares for growing branches.
The advantage of uprooting the tree, at least initially, is that you will be able to form the surface roots much better as you will be able to cut them and arrange them. However the alternative would be to allow the tree to remain in the ground and when you have finished developing it and you are ready to pot the tree, you ground layer it. This will produce a lot of fine roots which will sustain the tree.

Although it is safe to do root work like this on field grown trees, due to their immense energy, it does slow the tree down and you will lose some development time.
Video
The above tips are explained further and demonstrated in the following video I did. I hope you enjoy it and please be sure to like my channel and share the video with others you think will enjoy the content.
Leave a comment
Comments will be approved before showing up.
