


Orchids


Creating Japanese Maple forests
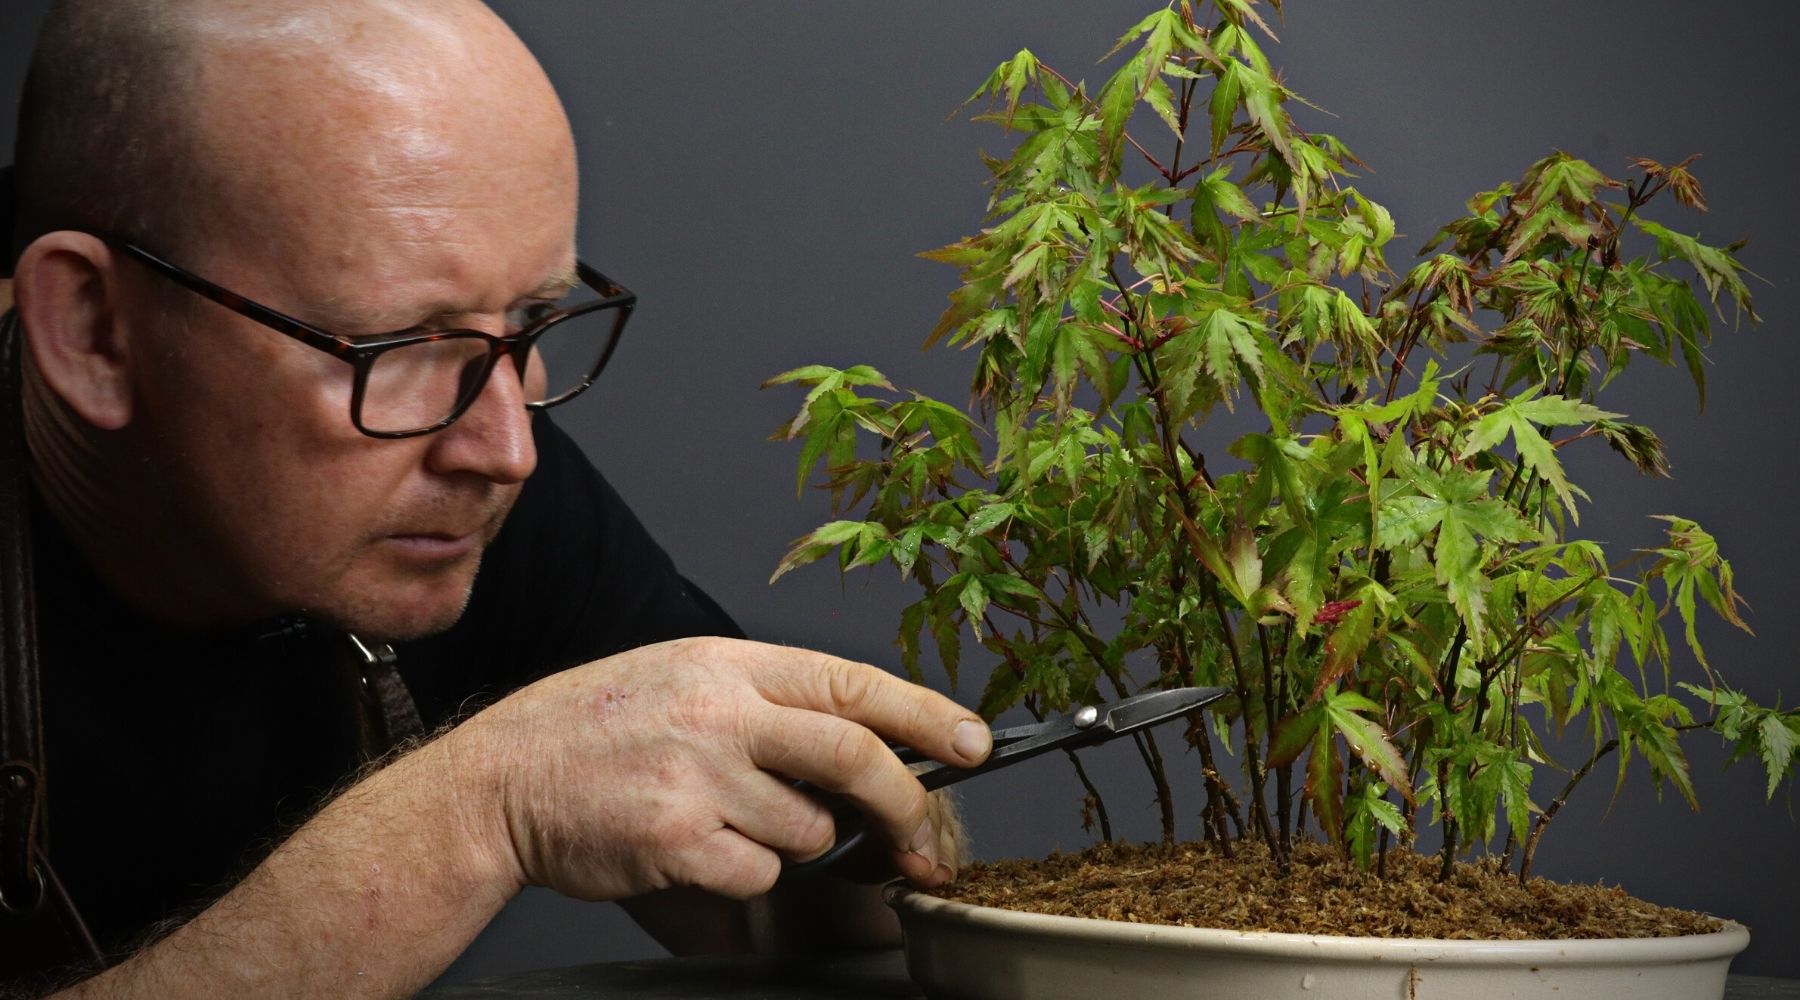
In this blog post Terry Erasmus will demonstrate how you can easily and inexpensively create a group or forest planting.
Timing
As this blog details the creation of a deciduous forest, the best time of year is spring. This is when the trees are just waking up and buds are swelling. If you start too early then you may deprive the trees of much needed resources they will need in order to grow. If you start too late then you will put a lot more pressure on the now much reduced root systems of the trees to take up moisture needed to keep the leaves sufficiently hydrated.
Plant material

Any deciduous material you can find could work really. Of course the best forests will be created from material grown for the purpose but you do not need to do this, you can scour your local nursery for inexpensive stock. Be on the look out for material which:
- is relatively straight although this will depend on your forest style.
- has a range of trunk thicknesses to create interest.
- vary in trunk length so you can create a curved canopy.
- has few lower branches, although a few pieces of material like this can be useful for the fringes of your forest.
- little to no visible scarring
Container
A shallow container is generally associated with forest or group plantings as this helps to suggest the landscape in which the forest would be found, but you can of course use a flat piece of stone or even homemade slabs. Personally I prefer to use glazed containers for deciduous trees both as they are more water retentive but I am also of the opinion that they enhance the trees more than unglazed container.
Growing medium
A suitable growing medium will be able to retain sufficient moisture for the trees until you are able to water again. The particle size of the medium should also to a large extent echo the size of the container and trees. For instance if you are using small trees like I am in this planting, in a small and shallow container it is best to use a fine particle of between 1 - 3mm as this will retain sufficient moisture and drain well, enhancing oxygen circulation in the rootzone. Using a small particle of 3-5mm will drain even better but will dry out very quickly. (In the example forest I used only Akadama FINE)
You will also need:
- Some skewers or wooden dowels.
- Pliers
- Wire cutter
- Aluminum wire
- Drainage mesh
- Scissors
- Chopstick or similar.
The process
Before you start working on the plant material it is best to prepare your container to minimize the amount of time the roots of your trees are exposed for.

In order to secure the many trees into the container, and it is always best to wire them in to prevent movement, you will need to create a lattice work of sorts onto which you can secure the individual trees.
Use the wooden dowels or skewers and form a grid-like pattern, securing the individual pieces together with some thin aluminum wire.

The lattice, once created, can be secured in place at the bottom of the container with aluminum wire.
You can now prepare your plants by washing off any soil from the root system. You could also use rakes or other tools for this but washing the roots with a pressurized jet of water is less likely to rip any roots. Perform this work in the shade if possible to ensure the roots do not dry out.

Arrange your trees considering the kind of forest you want to create; whether it will be one large group of trees or several smaller groups of trees. Start with the largest tree first and then work outwards once you have positioned and secured it.

Always view the forest from the front and from the side while assembling it and consider the positions of each tree and that trees do not obstruct the tree behind it neither should they cross one another.
Be sure to vary the distance between trees too and generally the largest, tallest trees will be towards the front with the smaller ones to the side and back of the forest to create the illusion of depth. However its also a great idea to place smaller trees or those with considerably thinner trunks adjacent to those with much thicker trunks to create visual contrast.

Use wire which you loop below the lattice and over the roots of the trees to secure them in place. A little of your chosen growing medium mounded in the spot where the tree is going to be positioned is also a good idea before you place and secure the tree.

After placing all the trees, securing each in place, fill any gaps with growing media and use a chopstick or other blunt implement to work it into any cavities. Once completed give your planting a thorough watering with a fine sprayer, watering until the water runs clear from the drainage holes.


The final step is to use some prepared top dressing to finish off the planting. This will stabilize the new soil so that it does not move around when you water in future. It will also encourage surface rooting and if you added live moss to your top dressing the chopped sphagnum is a great rooting medium for this live moss to develop on.

Position your finished forest in a shady position protected from strong sun, heat and wind. It can remain there until you can clearly see that it is growing where after you can move it into progressively more sun. You can at that time also begin lightly fertilizing, preferably with a liquid fertilizer.
Conclusion
Forest plantings can be a lot of fun, and as you can really make a forest from just about any species of pretty much any age, it does not have to be expensive. I hope you will feel enthused enough now to go out and create your own forest.
Watch the full video
Leave a comment
Comments will be approved before showing up.
