


Orchids


Twisty little Shimpaku
Article and photos by Martín Díaz
Assessing the material
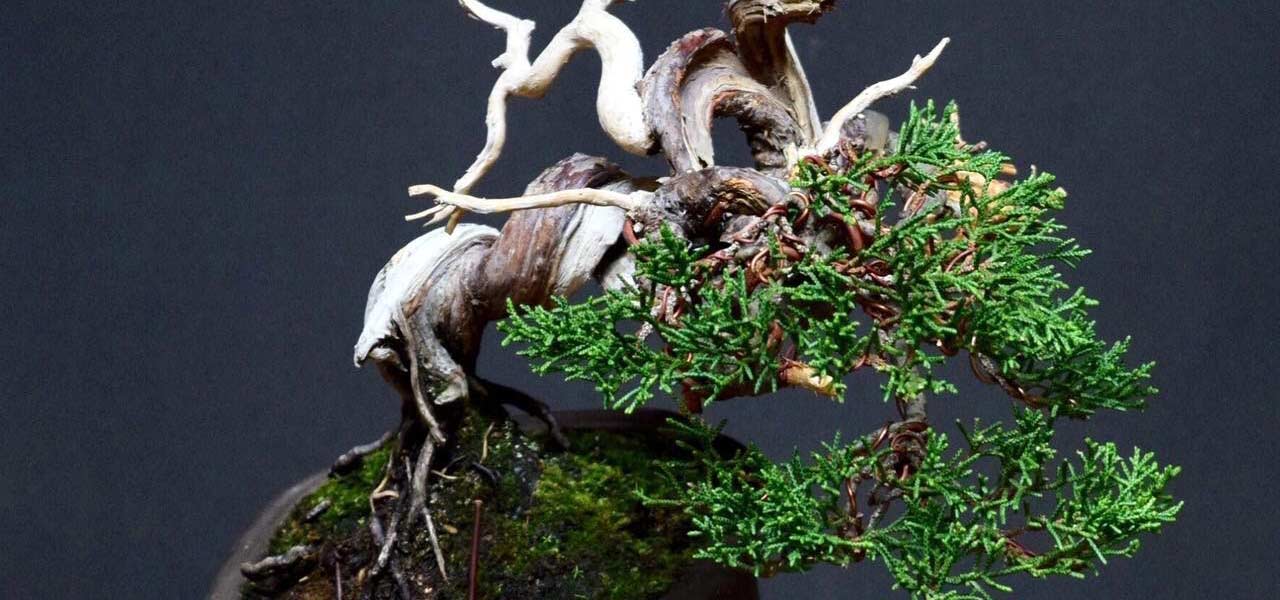
At first glance, the movement of the trunk on the upper section of this tree is quite simple and uninteresting, so I aimed to accentuate the already existing curves, reduce the total height of the tree, compact the foliage, and focus attention on the areas of dead wood.
Step One
Splitting the deadwood

The red line indicates the section to bend
The part that I wanted to bend had a section of dead wood, so the first step was to separate the dead wood from the live vein, in order to facilitate the process of bending.

The tool used for this work was a root cutter.
Instead of using the tool to make a clean cut I tried to break the fibers using the tool as a wedge. This gave a more natural appearance to the separated area.

Step Two
Bending the trunk
Only the portion of the trunk that needed bending was separated.
To avoid unnecessary stress, the trunk was bent in the direction of least resistance, in this case forward, closing the curve. With a copper wire and rubber protections the trunk was secured in position.

With a copper wire and rubber protections the trunk was secured in position.
Step Three
Choosing the new front
At this point I evaluated the best front for the tree, trying to show the dead wood as well as possible. There were many possible fronts.


Step Four
Pruning unnecessary branches
Already chosen the new front, I continued to eliminate branches that pointed directly down and branches too long to use.

The cut branches were carved into small jin.
Step Five
Wiring the remaining branches
After, it is just a matter of wiring the fine branches with copper wire, eliminating the downward foliage, and trying to leave spaces between the branches to give them enough room to grow and densify the canopy.
Because the bend didn’t cause the trunk to split it’s safe to apply wire on the small branches. If the trunk would had split, it’s best to let alone until it shows signs of good health.
Bonus
Lime sulfur
To finalize, the section of live wood that was connected to dead wood painted with lime sulfur. Because it is already dry and does not transport sap there is no risk of damaging the tree. The branches that were carved into jin should wait until they are dry to be painted.

The end result.
Aftercare
Because this work was done at the beginning of winter, precautions during the coldest days will have to be taken. Next year in the spring the tree will be repotted into a definitive pot and begin its process of refinement.
About the author: Martín Díaz is a third year apprentice at Aichi-en, located in Nagoya, Japan. Originally from Chile, he has been practicing bonsai for over ten years. You can find him on Facebook and Instagram posting sporadically interesting things that may or may not be related to bonsai
Leave a comment
Comments will be approved before showing up.
