


Orchids


Collected Olive to Shohin Bonsai
Introduction
You may want to consider reading this article I wrote about the post collection care of olives and several tips which I share with you before reading this article.
I try my best to keep a photographic record of the trees I grow. I generally succeed and find that it helps to motivate me when I feel I am not getting anywhere with a tree. Looking at photos of what the tree started out as, comparing it to what it looks like at that moment will tell me whether I am making progress or simply going around in circles. You reading this blog, I would like to encourage you to also get into the habit of taking pictures whenever the tree makes it onto your worktable.
In this post I relate the photographic account of a collected little shohin sized wild olive. It begins with a friend who was kind enough to invite me to go on an olive dig on a farm in the Overberg area. I don't often dig trees as I am not sure I can always resist the temptation to remove more than I really can handle, but I have become extremely selective of late and was keen to go so I was quite excited to join him. It just so happens that we were quite lucky that day and I was able to find a few trees which offered a lot of potential.

Image caption. Some of the collected olives, a little while after being collected and showing juvenile growth. November 2013.
So collecting the trees and doing what we could to ensure they pulled through the ordeal best I eventually got them home. I was also keen to try out what was at the time, a new mix; my Professional Mix. So all of the collected trees were potted into this mix and treated in the usual manner ie. bright shade, water and of course plenty of BonsaiBoost.

Image caption. I was very excited about this little olive, particularly the massive base for its size. Here you can see how well it has recovered from being collected. The matchbox helps give you an idea of scale. Photo taken in April 2014 about 6 months after being collected.
The idea I had in mind for this tree was a clump style or as it is known in Japanese; Kabudachi. In Charles Ceronio's great book of bonsai styles of the world he writes about this style being often found in nature where seeds of the same species begin growing in close proximity and as they mature the base of the trees fuse. As such they eventually exist on a common root system however with multiple trunks. When styling trees in this style each "trunk" is treated as an individual tree.
Early stages
At this early stage the aim was therefore to grow several trunks and of course the best way to do this is to allow the shoots to extend as long as possible, as this will cause them to thicken at the base.

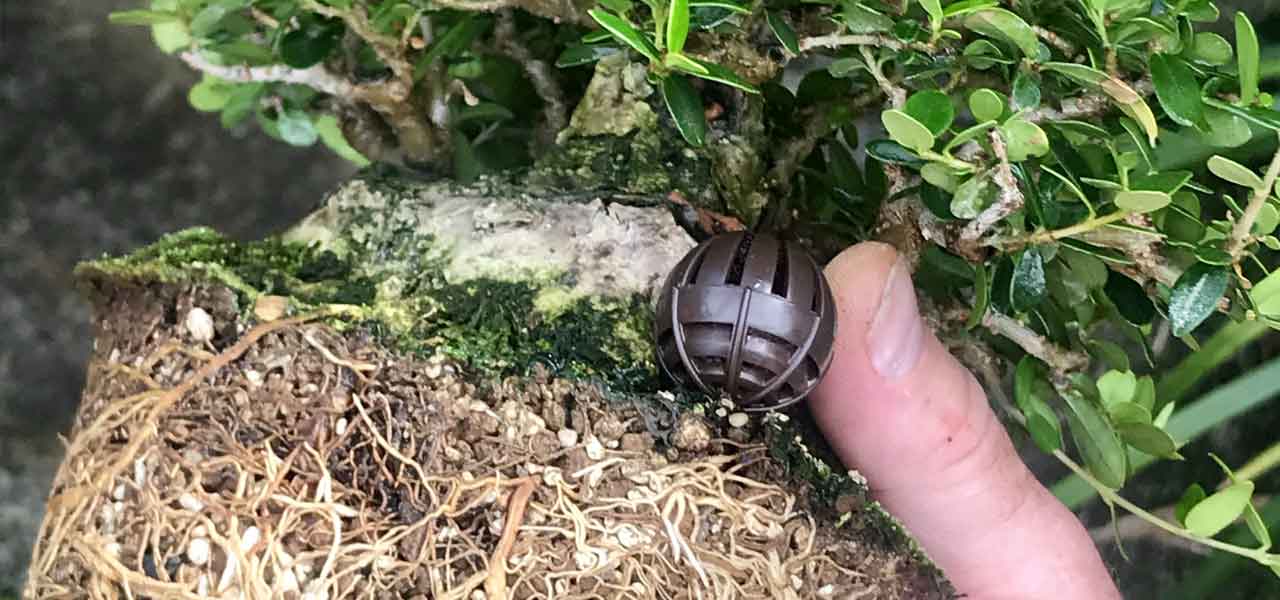
Image caption. I wanted to check on the roots to see how well the Professional Mix had done (with BonsaiBoost fertilizer), and I was very pleased with the results. Photo was taken in September 2014 so a mere 1 season after collecting was all it took for the container to fill with roots.
BonsaiBoost was given and replaced every 2 - 3 weeks. I wanted sustained development without giving excessive nitrogen which would simply have led to excessively long internodes, meaning that on a tree of this size I would had to have restarted a trunk/branch several times to get a bud where in future I could cut back to.

Image caption. The new growth has thickened and hardened off now, some progress in the right direction has been made. Photo taken in February 2015.
It is so important that you get the right foundation for any tree you design. Without it, years of development will be for nought and you will have to restart the tree. Not to criticize other people's trees, but I have seen way too many olives (especially olives!) which were collected and have significant trunks only to see that the artist rushed development of the branches in order to begin developing the canopy. The price for this was branches which were simply too thin, without taper; essentially boring (Bear this in mind when you decide to collect that 2 man olive next time; how long is it going to take you to develop the first branches?). Had the artist taken more time to allow the branches to develop more before beginning with ramification they would have laid a more solid foundation with more potential for later development.

Image caption. The most important "secret" I could probably ever share with you is that of the sacrifice branch. It's not pretty but they work! Photo taken June 2015.

Image caption. By choosing smaller material to collect, I have short tracked the amount of time I will need to develop a convincing bonsai. You can already see just how much the tree has changed, and in particular how the main branches, or in this case "trunks" have developed with the help of sacrifice branches. Photo taken June 2015.
Its important that you do not cut the sacrifice branches too soon. I have trouble with this sometimes, my hands itch to go grab a pair of scissors or a branch cutter - I guess its my neat freak nature - but I usually gain control in the end and the branches are safe for a few more weeks.

Image caption. A sacrifice branch being used to thicken a branch. Photo taken January 2016.

Image caption. A close up of the base of the sacrifice branch in the preceding photo. The section to be sacrificed is the growth after the first shoot more or less in the center of this image growing at a small angle to the vertical.

Image caption. A new shoot desperately needed for the back of the clump. I did a little dance when I saw this developing :) (Center of the image)
Another great advantage of sacrifice branches is that they allow the tree to build up a lot of energy. When you cut the sacrifice branch at the right time, when the tree is actively growing strongly, then that energy must find a "vent." This venting takes place through pushing new buds along the section of the branch which remains, but new buds will sometimes pop out of the tree in unpredictable places. This does not happen with all trees, especially when the wood or bark has reached a certain age, however in olives they tend to bud anyway, even when rather old. In my little project I desperately needed some more branching at the back of the tree, which is important to give a bonsai tree depth. When I did a harsh cut a couple month back I was lucky enough to get a bud popping in just the right place! This new shoot will be allowed to develop so that it can thicken, after which it will be cut back to get it to divide.
Just another reminder is that you should always use sealant to protect or cover cuts. It not only helps to prevent the tree from becoming infected with something but it also helps to prevent loss of sap and aids callous formation. Lost sap means lost development, and growth is what we want lots of at this stage of the trees development.

Image caption. It's a good idea to wire the shoots gently while they are young so they are at least roughly in the positions you want for the design of your tree. You can always fine tune later.
When you do work on the tree cutting back the branches, and perhaps defoliating, it is easier to work on the structure of the tree. With the leaves out the way wire can easily be applied to the branches. Use aluminium wire for deciduous trees roughly of the same thickness as the branch you are required to bend. However this is a generalization and if the branches are still a little soft and not fully hardened (still have a green colour) then it is best to use thinner wire which is softer. The bark of young olive branches is paper thin. In Japan when wiring azalea which have the same characteristic, they will first wrap the wire with paper to protect the fragile bark and thus prevent scarring. On this little olive I am not going to bother with that as it needs to age a lot more and during that time, any scars created will have naturally become invisible.

Image caption. To ensure you are developing your tree with an equal amount of growth in front, back and sides take a look at the tree from the top. It should have a roughly oval or round shape, if its flat in any one direction then you should focus on development in that area.
So starting out as a collected tree, planted in a container for the first time in September 2013 till January 2016, roughly 2 years later, the tree has developed strongly thanks to the good initial recovery of the tree, generous root development due to the the use of a fast draining growing media with plenty of oxygen exchange and of course sustained release of nutrient rich fertilizer in the form of BonsaiBoost which could support the development of strong and numerous new shoots.

Image caption. Photo January 2016.
The goal remained to continue developing the thickness of some of the branches and further the ramification of the tree. The following image is a scan from a Kokufu ten exhibition photobook which I often use as reference and also inspirational material. I would advise you to study coffee table type books on bonsai, scour the internet saving images of trees which appeal to you. I am certain that by repeatedly studying these images they become ingrained in your mind and become a resource from which to draw when you are designing a tree. Of course nature cannot be substituted so be sure to study trees on your way to work, school, university or whenever you are afforded the opportunity.

Image caption. One of my inspirations for the olive.
Spring 2017
In August 2017 I decided to defoliate and wire the tree. The purpose of defoliating the tree was to help facilitate wiring because the tree being so small its impossible to perform detailed wiring with leaves getting in the way. I sometimes see people wiring over leaves, this is not a good idea. For one, the leaf usually dies and so you have a dead leaf wired to a branch until you remove the wire again. Secondly, the gap between the leaf and branch or trunk is sufficient for pests to hide, making it difficult to kill them with contact sprays.

Image caption. After defoliation and after wiring the tree. August 2017.
After wiring the tree with soft, aluminium wire, I positioned the branches and branchlets so they were spaced apart to allow room for more shoots to develop which would help increase the ramification. Also, each shoot was positioned at an appropriate angle for its position on the tree. That is to say that branches near the base of the tree were placed more horizontally and shoots near the apex were directed vertically or just off vertically. This is naturally how a tree would grow, reaching towards the sunlight.
In the spring of 2017 as part of a demonstration at a garden trade show in Cape Town, I decided to repot the olive and place it into a smaller container now that the majority of the development had been completed. The mistake I made was that as I had only several weeks prior to that defoliated the tree, it was in a weakened state.
Here is a short video clip of the tree in its new container.
Although the tree sulked on me for a few months and basically put out no new growth, with all the existing leaves remaining after the defoliation falling off, it eventually pulled through. I attribute this to the fact that the tree was very healthy prior to its ordeal, the timing of everything was good and my aftercare was correct (no fertilizer, no wind, lightly shaded area, tree was wired into the container, well drained growing medium etc). Notwithstanding, I would not repeat this mistake and would suggest that if you plan on repotting a tree, do not defoliate it before or after the repotting during the first season of growth. If the trees growth is very strong then you may consider a partial defoliation if necessary.

Image caption. An updated picture of the tree taken February, 2018.
Summer 2018
Moving ahead to the summer of 2018 the tree has regained more energy and is growing healthily. I was curious to see how the trees root system had responded to the previous season's repot into 2:1 fine akadama and fine pumice mix so I gently eased the well established root ball from the container to reveal a very healthy and vigorous root system.

Image caption. Early Summer 2018
I am contemplating exhibiting the tree this year at the annual Cape Bonsai Kai show to be held mid December at Kirstenbosch gardens. To that end the container is not very suited and would need to be changed to something more sympathetic to the textured bark of the tree and would enhance its intrinsic character. I do like the whimsical glaze colour and felt it contrasted beautifully with the bottle green leaves of the olive though. I was able to find a really dark unglazed, round container with a subtle motif around the rim, geometric stepped feet and just the right size. I originally bought this container on a trip to China, in a market although until recently I did not know the maker. A friend fortunately was able to identify it as being from Yixing, China which is what I believed to be the case. The artists name is Xiao Yun Pen Ji from "Yun's son Art Studio," A little bit of interesting information which adds to the provenance.

I placed the tree into this container and as it is round as opposed to rounded rectangular in shape, added a little more fine akadama at the front and back. I then placed finely grated*, wet sphagnum moss on the surface to help stabilize the soil preventing it from washing away and also to encourage surface root development. To the damp moss I added grated*, dried green moss spores. Green moss roots quickly in this manner and grows strongly, hopefully strongly enough to have developed a bit by the time of the show in a few weeks time. (*Grating is simply the process of rubbing the moss on the finest sieve and collecting the particles which fall through)
7 Responses


Leave a comment
Comments will be approved before showing up.

Anonymous
March 27, 2018
Hi Kaye. Sacrifice branches are essentially branches which have a use or serve a purpose for a period of time and then are removed (sacrificed) entirely or partially. The purpose might be to thicken a trunk, help heal over a scar, or simply to thicken the base of the same branch to form the foundation of branch structure. Under “categories” you will find the term, click on it and all the articles the term is used in will appear. Read those articles to get a better idea of what sacrifice branches are.