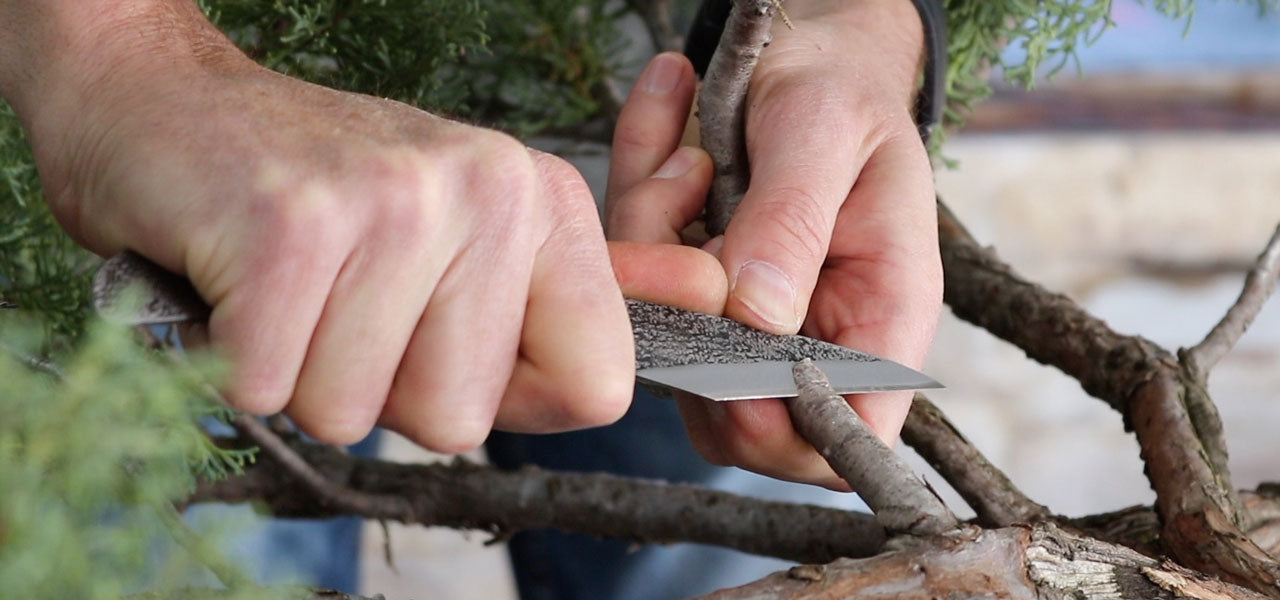
spend R1000. 2kg or less. free shipping.

0

Your Cart is Empty

3 min read

Mark Polson, a bonsai artist based in Cape Town, South Africa has a passion for Junipers. He has some of the most impressive Junipers which I have seen locally and part of his success is due to his ability to graft. He kindly led a workshop recently on this invaluable skill, hosted by Oyama Bonsai Kai. Luckily I was there to capture it and he graciously agreed to provide the following accompanying text too

Juniper Scion or Veneer grafting

Scion grafting is a great method used to improve the quality of Juniper foliage from leggy, coarse growth to compact, fine growth.

Sargent, Itoigawa Shimpaku for example, can be used to replace undesirable foliage (even on Procumbens). Or we can use scions from the same tree to develop branches and foliage where needed.

Any species of Juniper can be grafted on to any other species of Juniper.

Scion or Veneer grafting is best done in late winter / early spring as the receiving tree is about to start moving resources (waking up).

Both the donor and receiving tree should be in good health.

Preparing the scion

Select (and cut) a shoot that is woody at the base and has terminal growth at the tip. Clean off the lower shoots, leaving enough foliage at the tip to support photosynthesis but not too much or it will desiccate.

Make two clean cuts on either side with a grafting knife, holding the foliage in one hand, cutting away in one controlled push.

The first cut should be around 20mm long and the second slightly shorter with a sharper angle. The end result is a long wedge, one long side and one slightly shorter side.

Next, taking care not to touch the freshly cut sides, wrap a pre-stretched piece of grafting tape from the base of the foliage out to the tip, overlapping 50% each turn. Twist the end shut.

This will keep moisture in.

Prepare the receiving tree

Select the desired location where the graft will be inserted. This can be on a branch (no less that pencil size in diameter) or on the trunk. Make sure it is alive…

Using your sharp clean grafting knife, make the cut deep enough to expose the cambium and deep enough to receive the scion. Generally, the scion will be placed in the same direction as the sap flow.

Now that you have created a “flap”, insert the scion, matching cambium to cambium, long cut facing down on to the cut site (assuming the cut was made on top of branch). You have one shot at this as if you wiggle, remove and re-insert, the one cell layer of cambium can be damaged, lowering your rate of success.

Securing the scion

Once the scion has been inserted, start to wrap another piece of pre stretched parafilm tape tightly from just before the cut site, overlapping as before, all the way to the scion, also wrapping underneath the scion (between scion and receiving tree). It is advisable to seal this area with cut putty (not liquid paste) to prevent any moisture from getting to the union.

Now secure the graft even further with some aluminium wire (firm but not too tight). This will prevent the scion from being pushed out of the cut site by the callousing and flow of resources over the coming growing season.

After care

Place the tree in dappled shade or cover the grafted scion with some reflective material as temperatures rise.

Water and fertilise the tree as usual. Do not re-pot this season.

Success

By December (or Summer in the Western Cape) if you have been successful, the scion will begin to bulge and push through the twisted end of the “cocoon”. Start to unwrap from the tip - one turn a week until totally exposed (do this slowly over time to give the scion time to adjust). Leave the grafting tape in place over the cut site until next spring. As the graft takes, it will swell and split the tape apart without the need for assistance. You should remove the wire at this stage. The scion should at least double in size by spring. At this time, start reducing the old, undesirable foliage. This should be done as the scion grows and becomes stronger. Sort of like a replacement…gain some, lose some.

Leave a comment

Comments will be approved before showing up.